Authorization header. Keys start with the gx_ prefix.
Using your API key
- cURL
- Node.js
- Python
Creating a key
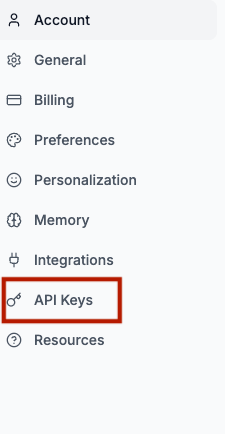
Sign in
Open app.magica.com and sign in.

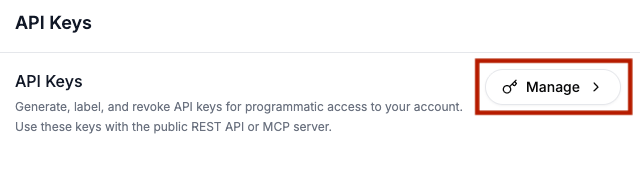
Create the key
Click Create Key, enter a label (e.g. “Production”), and optionally set
an expiration date.
Key properties
You can create up to 10 API keys per account. Each key has its own label, rate limits, and optional expiration.| Property | Description |
|---|---|
| Label | A unique name for this key (editable anytime) |
| Prefix | The visible gx_... prefix shown in the dashboard |
| Rate limit (per minute) | Max requests per minute for this key (default: 60) |
| Rate limit (per day) | Max requests per day for this key (default: 1000) |
| Expires at | Optional expiration date — key stops working after this date |
| Created at | When the key was created |
Managing keys
Edit a key
Update label or rate limits from Settings → API Keys. Click the pencil
icon next to any key.
Revoke a key
Click the revoke button next to any key. Revocation is immediate — requests
using that key start returning
401.Revoking a key does not affect other keys on your account. Your other keys
continue working normally.
Key expiration
You can optionally set an expiration date when creating a key. After it passes:- The key is automatically invalidated by the system
- API requests using the key return
401 Unauthorized - The key shows an “Expired” badge in the dashboard
- You can revoke expired keys to clean up your list
Rate limits
Each API key has its own rate limits that you can configure:| Limit | Default | Range |
|---|---|---|
| Per minute | 60 requests | 1 – 10,000 |
| Per day | 1,000 requests | 1 – 100,000 |
429 Too Many Requests response with a Retry-After header:
| Header | Description |
|---|---|
X-RateLimit-Remaining | Requests remaining in the current window |
X-RateLimit-Reset | Timestamp (ms) when the rate limit resets |
Retry-After | Seconds to wait before retrying (on 429 responses) |
Error responses
| Status | Meaning |
|---|---|
401 | Missing, invalid, revoked, or expired API key |
429 | Rate limit exceeded |