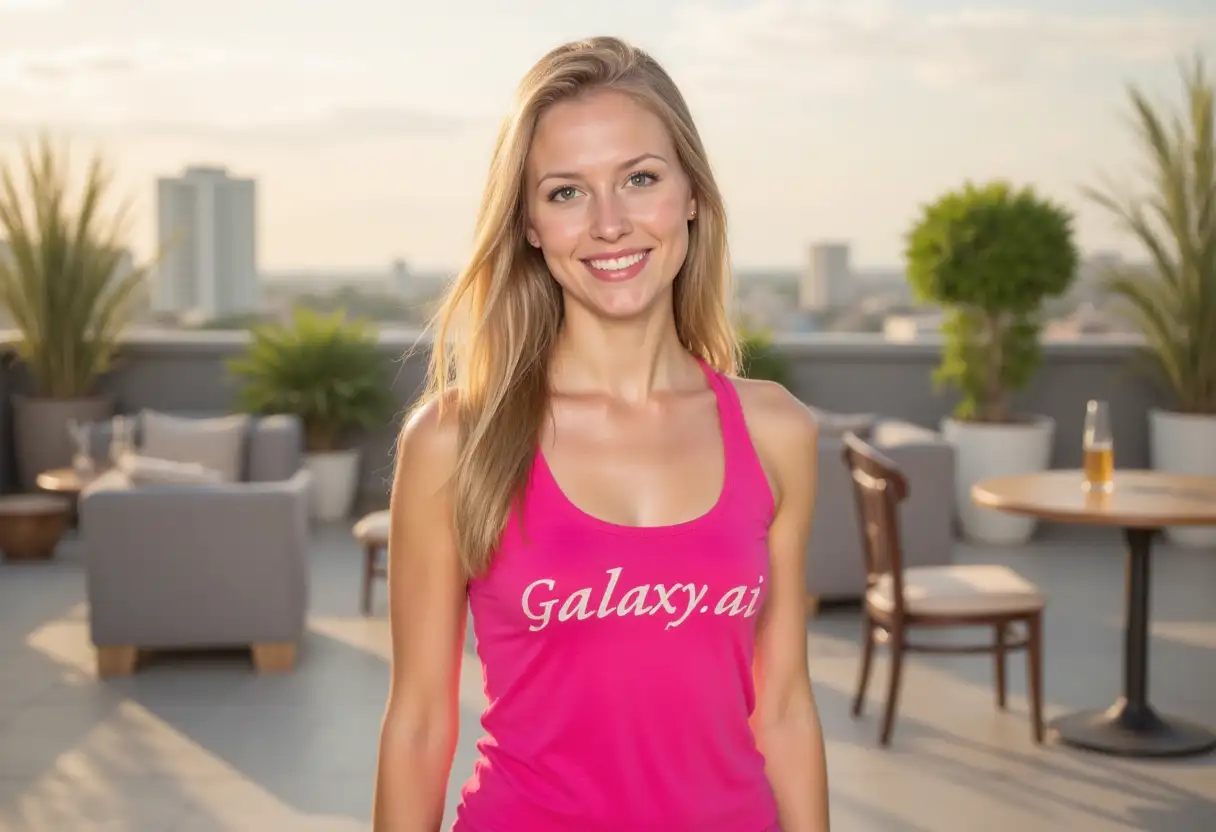
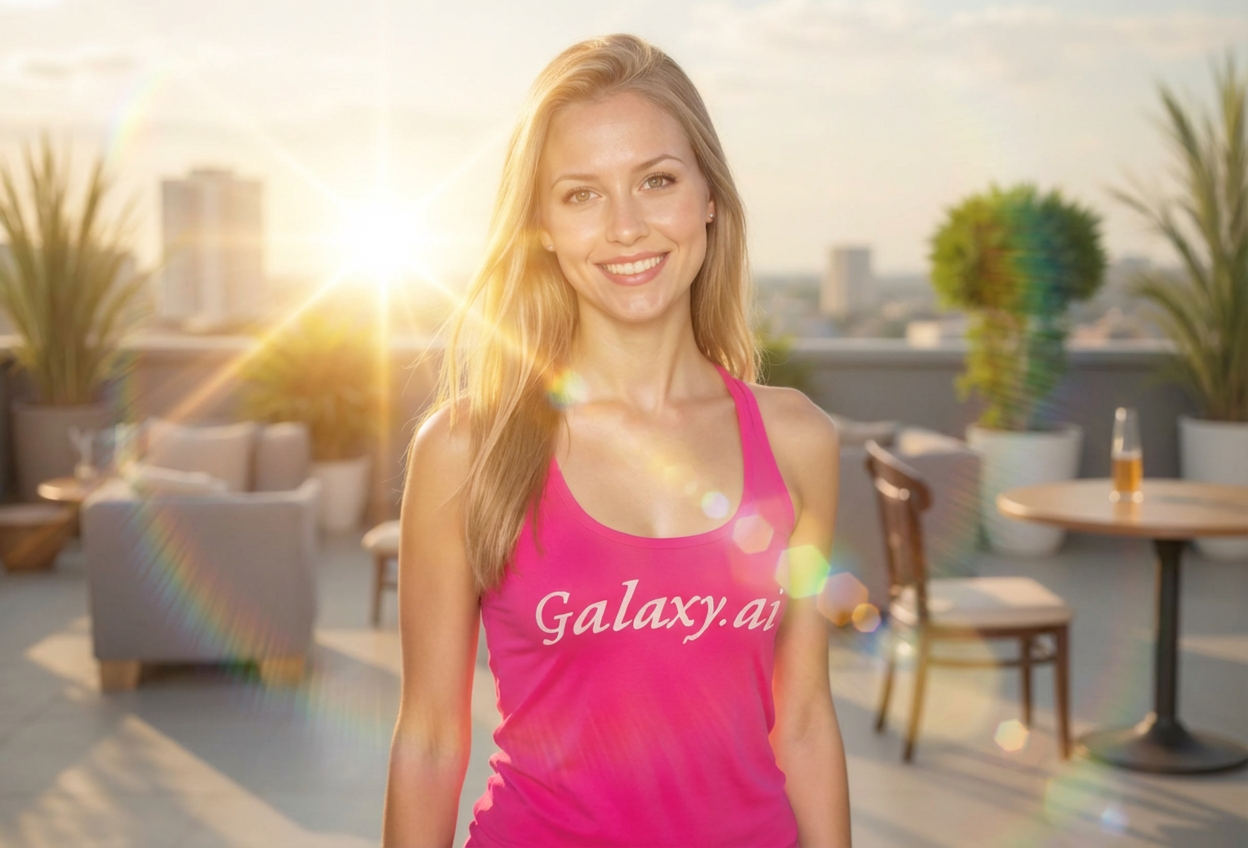
Compare the source image with each finished result.
Source image
Result
What Magica will ask for
The agent gathers these inputs and preferences in the conversation before it starts.
Description
Describe what you want to create...
Flare Type
Choose the lens flare style
Choices: Any Type, Classic Sunburst, Anamorphic Horizontal, Hexagonal, Starburst, Soft Bokeh, Rainbow Spectrum, Dramatic Spotlight, Vintage Film
Intensity
Choose flare brightness
Choices: Any Intensity, Subtle, Moderate, Strong, Dramatic, Intense Bright
Positioning
Choose flare placement
Choices: Any Position, From Top Left, From Top Right, From Center, From Bottom, Across Diagonally, From Side
Flare Color
Choose flare color tone
Choices: Any Color, Warm Golden, Cool Blue, White Bright, Orange Sunset, Purple Magenta, Green Teal, Rainbow Prismatic
Cinematic Style
Choose overall cinematic mood
Choices: Any Style, Modern Blockbuster, Vintage 70s Film, Sci-fi Futuristic, Dreamy Romantic, High Contrast Dramatic, Natural Realistic
Why Choose Our Add Lens Flare to Photo Tool?
Transform photos with professional cinematic lens flares using AI. Perfect for adding drama, atmosphere, and movie-quality lighting effects to any image instantly.
Advanced AI lens flare generation
Multiple flare types from classic to anamorphic
Cinematic quality lighting effects
Customizable intensity and colors
Professional film-style effects
Natural light source integration
Dramatic atmosphere enhancement
Instant Hollywood-quality results
Perfect for portraits and landscapes
Ideal for creative and commercial projects
How Our Add Lens Flare to Photo Tool Works
Create cinematic photos in three simple steps:
01
Attach Your Photo
Upload any photo you want to enhance with lens flare. Works beautifully with portraits, landscapes, and action shots.
02
Customize Flare Effects
Choose flare type, intensity, position, color, and cinematic style for your perfect lighting effect.
03
Generate & Download
Let AI add professional lens flare with natural integration and cinematic quality. Download your enhanced photo instantly.
Key Features of Add Lens Flare to Photo Tool
Multiple Flare Types
Choose from sunburst, anamorphic, hexagonal, starburst, bokeh, rainbow spectrum, and vintage film flares.
Instant Cinematic Quality
Add Hollywood-style lens flares in seconds with professional integration and natural light behavior.
Adjustable Intensity
Control brightness from subtle atmospheric glow to intense dramatic flares for complete creative control.
Custom Colors
Select from warm golden, cool blue, sunset orange, rainbow prismatic, and more color options.
Strategic Positioning
Place flares from any direction - top corners, center, diagonal - for perfect compositional impact.
Film-Quality Output
Download photos with professional lens flare effects ready for portfolios, marketing, and commercial use.
Who Can Benefit from Our Add Lens Flare to Photo Tool?
Perfect for anyone wanting cinematic lighting in their photos:
Photographers
Add cinematic drama to portraits and landscapes without expensive lighting equipment or golden hour timing.
Content Creators
Create movie-quality visuals for videos, thumbnails, and social media content that capture attention.
Digital Artists
Enhance artwork and composites with professional lens flare effects for cinematic atmosphere.
Marketing Professionals
Create eye-catching ads and promotional materials with dramatic lighting that draws attention.
Music Artists
Design stunning album covers and promotional photos with cinematic lens flares for visual impact.
Filmmakers
Add post-production lens flares to stills and frames for consistent cinematic look across projects.
Tips for Better Results
Tip 1
Match Flare to Light Source
Position flares where natural light sources exist - sun, lamps, windows - for realistic integration.
Tip 2
Choose Type for Mood
Anamorphic for modern cinematic, vintage film for retro feel, starburst for magic, soft bokeh for romance.
Tip 3
Use Subtle Intensity for Realism
Moderate intensity creates natural film look. Dramatic works for action shots, subtle for atmospheric enhancement.
Tip 4
Color Temperature Matters
Warm golden for sunset/sunrise, cool blue for night/tech scenes, white bright for midday, rainbow for creative impact.
Tip 5
Diagonal Placement is Dynamic
Flares across diagonally create movement and energy. Corner placement is classic, center is bold and dramatic.
Tip 6
Consider Photo Subject
Position flares to complement not overpower subjects. Use intensity that enhances without dominating the composition.
Tip 7
Match Cinematic Style to Content
Modern blockbuster for action, vintage 70s for nostalgia, sci-fi for futuristic, dreamy romantic for portraits.
Frequently Asked Questions About Add Lens Flare to Photo Tool
What is a lens flare and why add it to photos?
Lens flare is a light phenomenon that occurs when bright light enters the camera lens, creating artistic light patterns. Adding it creates cinematic atmosphere, drama, and professional film-quality aesthetics that enhance visual storytelling.
What's the difference between anamorphic and regular flare?
Anamorphic lens flares create horizontal streaks and oval shapes characteristic of widescreen cinema lenses. Regular flares are more circular. Anamorphic gives that signature Hollywood blockbuster look.
How do I make lens flares look natural?
Position flares from direction of existing light sources (sun, windows, lamps). Use moderate intensity and match colors to scene lighting. Natural realistic style helps flares blend authentically.
What intensity should I choose?
Subtle for atmospheric enhancement, moderate for standard film look, strong for clear cinematic effect, dramatic for action/music videos, intense bright for maximum impact and attention.
Can I control flare colors?
Yes! Select warm golden for sunrise/sunset, cool blue for moonlight/tech, orange sunset for magic hour, purple magenta for creative effects, or rainbow prismatic for maximum color dispersion.
Where should I position the lens flare?
Position based on composition - top corners for natural sun placement, diagonal for dynamic energy, center for bold drama, from side for directional lighting, from bottom for ground-level light sources.
What types of photos work best with lens flares?
Portraits with backlight, landscapes with sun/sky, action shots, music/band photos, urban scenes, sunset/sunrise photos, and any image needing dramatic atmosphere or cinematic enhancement.
Can I create different cinematic looks?
Yes! Modern blockbuster for contemporary action, vintage 70s for retro feel, sci-fi for futuristic tech scenes, dreamy romantic for soft portraits, high contrast dramatic for intensity, natural realistic for subtle enhancement.
Will flares work with night photos?
Absolutely! Night photos are perfect for lens flares from street lights, car headlights, or moonlight. Use cool blue or white bright colors with moderate intensity for authentic night atmosphere.
Are these lens flares realistic?
Yes! Our AI creates realistic lens flares that mimic actual optical phenomena including proper light dispersion, hexagonal patterns from lens apertures, color aberrations, and natural light behavior.
Do I need photography knowledge?
No! Simply select your preferences and our AI adds professional lens flares with natural integration, proper positioning, and cinematic quality automatically.