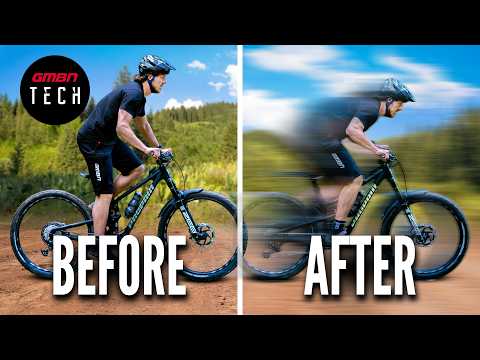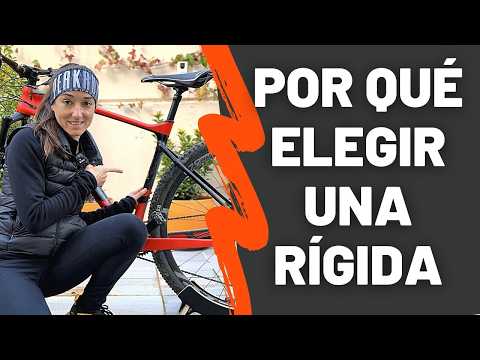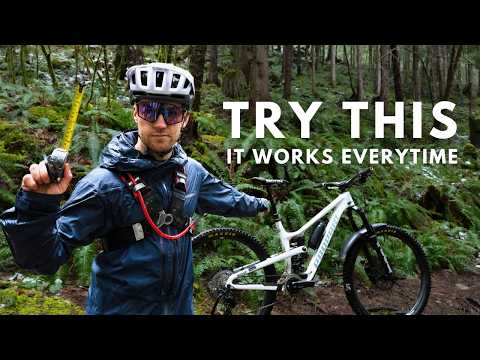
Setting up your bike correctly involves more than just handlebar width. This comprehensive guide covers choosing the right bike, adjusting tire pressure and suspension, setting seat height and position, configuring handlebar stack and width, brake and shifter setup, and ensuring a quiet, efficient ride. Proper setup enhances comfort, control, and performance on the trail.
Many cyclists focus on handlebar width when setting up their bikes, but this is just one small part of a much larger picture. Proper bike setup involves multiple factors working together to ensure good fitting and performance. This guide will walk you through the essential steps to set up your bike correctly.
Before diving into adjustments, it's crucial to select a bike that matches your riding style and preferences. Ask yourself:
Choosing the wrong bike category can hinder your experience regardless of how well it is set up. Research different brands and pay close attention to geometry and sizing. Starting with the right size bike makes subsequent adjustments easier.
Consider wheel size as well. Options include full 29ers or mullet setups. Bikes with flip chips that allow switching between wheel sizes offer versatility.
Before adjusting any components, ensure your tires are properly inflated and your suspension has the correct spring rate. This is vital because incorrect air pressure or suspension setup affects your balance and makes other adjustments unreliable.
Refer to your bike's owner's manual for recommended settings as a starting point.
A popular method to determine seat height is the "Lemon Formula": multiply your inseam length by 0.883. For example, with an 80 cm inseam, the ideal seat height is approximately 70.5 cm.
If this formula doesn't suit you, use the heel-to-pedal method:
No bend means the seat is too high; too much bend means it's too low.
Start with the seat rails centered on the seat post. If your bike is slightly large, move the seat forward to compensate.
For most mountain bikers, the seat should be parallel to the ground. Downhill riders may tilt the seat slightly upward for better support during descents, while cross-country riders might tilt it slightly downward for pedaling efficiency.
Ensure there is enough clearance between the bottom of the seat and the tire, especially on bikes with more suspension travel. Leave at least 5-10 mm of extra space to account for tire deformation and frame compression.
Choose dropper post travel proportional to your leg length. For example, a rider with an 80 cm inseam might use a 180 mm dropper post. Longer travel posts are not always better and can affect your riding position.
Stack height is the vertical distance of your handlebars from the ground and can be adjusted by moving spacers above or below the stem or swapping handlebars.
Adjusting stack height also affects how the bike feels in terms of cockpit length and weight distribution.
Handlebar width should be proportional to your body size. For example, a width of 738 mm might provide optimal control and clearance.
Stem length affects steering responsiveness and front-wheel traction:
Bar roll (rotation) is typically set parallel to the fork. Rolling bars forward can increase front-wheel traction but may reduce confidence on steep trails.
Ergonomic grips can be adjusted slightly forward to improve elbow position and comfort, especially when cornering.
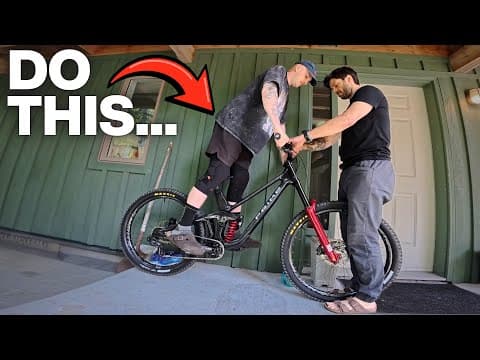
A quiet bike is often a fast and enjoyable bike. Check for any noises by physically shaking the bike and inspecting components.
Before hitting the trails, test ride your bike in a controlled environment like a driveway or parking lot.
Suspension setup involves adjusting:
Start with manufacturer recommendations and fine-tune based on trail feedback.
Proper bike setup is a comprehensive process that goes beyond just handlebar width. By carefully selecting your bike, adjusting suspension and tire pressure, setting seat height and position, configuring handlebar stack and width, and fine-tuning controls, you can significantly improve your riding comfort, control, and performance.
Remember to test your setup and make incremental adjustments based on your riding style and terrain. Happy riding!