This blog post provides a detailed guide on creating lifelike cinematic AI videos using modern tools and techniques. It covers the entire process from generating key components like characters and settings to animating scenes and editing videos. The post emphasizes the importance of consistency, visual aesthetics, and effective prompting for achieving high-quality results in AI video production.
AI videos are becoming increasingly prevalent across social media platforms, with major brands leveraging them for advertising and integrating them into traditional marketing, filmmaking, and VFX pipelines. However, many individuals find the process of getting started overwhelming. Fortunately, recent advancements have made it easier than ever to create high-quality AI videos. This guide will walk you through every step of the process, including creating three different scenes.
The primary challenge with AI video creation has historically been consistency. However, with the latest tools, this issue has largely been resolved. The first step in creating a lifelike AI video is to generate the key components that need to remain consistent throughout the scene, including characters, locations, objects, and the overall visual aesthetic.
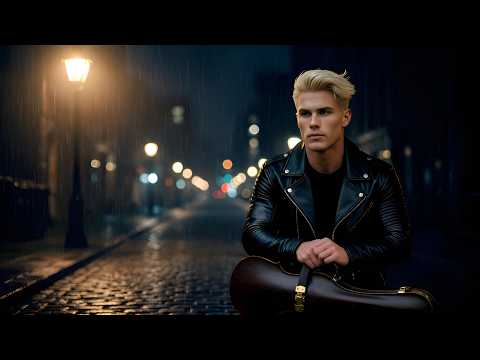
To begin, you should define the visual aesthetic of your video. This can be done using platforms like Midjourney, which excels in generating aesthetically pleasing images. While you don’t need a paid plan to use Midjourney, it can serve as a valuable resource for gathering inspiration and creating a mood board. You can search for styles or keywords related to your desired aesthetic, such as "film noir" or "mafia scene."
Once you find images that resonate with your vision, save them as references to create a style guide. This guide will help ensure that all subsequent components of your video maintain a consistent look and feel.
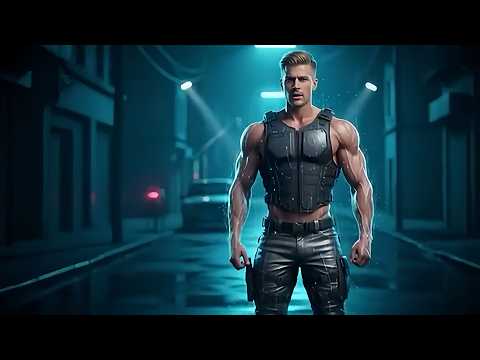
After establishing your visual aesthetic, the next step is to create your characters and settings. This can be done using platforms like Higsfield, which consolidates various image and video models into one accessible location. For example, using the Nano Banana Pro model, you can generate characters and settings simultaneously.
When prompting for images, include details about the character and location while adhering to the established visual aesthetic. For instance, you might prompt for an alien mob boss sitting behind a desk, ensuring that the generated images align with your style guide.
Once you have your characters and settings, generate key reference images that establish the context for your scene. These images will serve as the foundation for your video sequence. You can use natural language prompts to describe the scene and request specific shots, such as wide shots, medium shots, or close-ups, depending on the narrative needs.
As you plan your shots, it’s essential to understand the different types of shots and camera movements that can enhance your storytelling. Here are some common shot types:
In addition to shot types, consider various camera movements, such as panning, tilting, and tracking, to add dynamism to your scenes. These movements can help convey emotions and guide the viewer's attention.
Once you have your images and shots planned, it’s time to animate them. Higsfield offers a range of video models that can generate audio and sync sound effects with the actions in your scene. When prompting for animations, focus on the actions of characters and objects, as well as the desired camera movements.
When creating dialogue scenes, specify the emotions and vocal qualities you want for each character. You can also prompt for sound effects to enhance the atmosphere of your scenes. For example, if you want a crowd cheering in the background, simply ask for it in your prompt.
Be mindful that while AI can generate sound effects and music, it may not always be consistent across shots. You can choose to add your own sound design later for greater control.
After generating your animated scenes, the next step is to edit them together. You can use video editing software like Premiere Pro or DaVinci Resolve to arrange your shots, add music, and layer in sound effects. Start by importing your shots and organizing them in the desired sequence. Then, add music and sound effects to enhance the overall experience.
As you edit, pay attention to the pacing and transitions between scenes. You may need to adjust sound levels or add additional sound effects to create a fuller audio experience. Once you’re satisfied with the arrangement, export your final video.
While the tools available for AI video creation are powerful, they may lack fine-grained control over dialogue inflection and character movements. To address this, consider using tools like Cling Motion Control, which allows you to apply motion from a video performance to your AI-generated characters. This can significantly enhance the realism of your scenes.
If you need to change the voice of a character, tools like 11 Labs can help. You can upload your audio and select a new voice while maintaining the original pacing and emotion. Additionally, if you encounter issues with background noise during dialogue, use voice isolation features to clean up the audio.
Creating lifelike cinematic AI videos is an exciting and accessible endeavor thanks to modern tools and techniques. By following the steps outlined in this guide, you can produce high-quality videos that captivate your audience. Whether you’re a beginner or an experienced creator, the key is to experiment with different styles, prompts, and editing techniques to find what works best for your vision. With practice and creativity, you can harness the power of AI to bring your cinematic ideas to life.