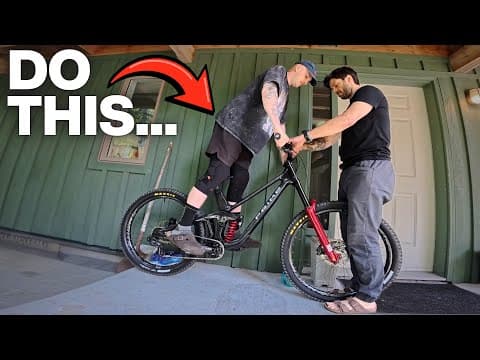
This blog post explores the concept of Rider Area Distance (RAD) in bike fitting, detailing how to measure it and calculate the RAD angle. It emphasizes the importance of these measurements for optimizing bike performance and rider comfort, providing a step-by-step guide and personal insights from the author.
In the world of cycling, achieving the perfect bike fit is crucial for performance and comfort. One of the key measurements that can help cyclists optimize their bike setup is the Rider Area Distance (RAD). In this post, we will explore what RAD is, how to measure it, and why it matters for your cycling experience.
Rider Area Distance, often referred to as RAD or spread, is a measurement that helps determine how well a bike fits a rider. It is defined as the distance from the middle of the crank spindle to a line drawn across the grips of the handlebars. This measurement incorporates various factors such as reach, stack height, and the overall cockpit setup, providing a more comprehensive understanding of bike fit than reach alone.
Traditionally, many cyclists have relied on reach measurements to assess bike fit. However, reach does not account for variations in stack height or handlebar position, which can significantly affect how a bike rides. RAD offers a more nuanced perspective by considering the relationship between these elements.
By measuring RAD, cyclists can better understand how their bike will perform in different terrains and riding conditions. For instance, a bike with a lower handlebar position may feel steeper and more aggressive, while a higher position can provide a more relaxed riding experience.
To measure RAD accurately, follow these steps:
For example, if your measurement reads 85 cm, that is your RAD.
Once you have your RAD measurement, the next step is to calculate the RAD angle. This angle provides insight into how the bike will handle based on the position of the handlebars relative to the crank spindle. Here’s how to calculate it:
Measure the Height of the Spindle: Measure from the ground to the middle of the crank spindle.
Measure the Height of the RAD Line: Measure from the ground to the midpoint of the line across the grips.
Calculate the Effective Stack: Subtract the spindle height from the RAD line height to find the effective stack.
Use the Triangle Method: Visualize the bike setup as a right triangle, where:
Apply the Formula: Use the following formula to calculate the angle:
[ \text{Angle} = \tan^{-1}\left(\frac{\text{Effective Stack}}{\text{RAD}}\right) ]
For example, if your spindle height is 33 cm and your RAD line height is 108 cm, the effective stack would be 75 cm. Plugging these values into the formula will yield the RAD angle.
Understanding RAD and the RAD angle allows cyclists to make informed adjustments to their bike setup. For instance, a rider may prefer a shorter RAD for better control on technical trails, while a longer RAD may be more suitable for stability on descents.
By experimenting with different RAD measurements and angles, cyclists can tailor their bike fit to their specific riding style and preferences. This process may involve adjusting handlebar height, stem length, and other cockpit components.
Measuring and understanding Rider Area Distance (RAD) and its corresponding angle is a valuable practice for any cyclist looking to optimize their bike fit. While these measurements may not provide a perfect solution, they serve as a useful reference point for improving comfort and performance on the bike.
As you embark on your journey to find the ideal bike setup, consider incorporating RAD measurements into your routine. With time and experimentation, you can discover what works best for you and enhance your cycling experience.