Suspension setup is crucial for fast, fun, and safe mountain biking. Expert Steve from Vorsprung Suspension explains how to choose spring rates, set rebound and compression damping, and adjust bottoming protection. Understanding your riding style and terrain helps find the right balance between comfort, control, and performance. This guide covers key suspension tuning steps and common pitfalls to avoid.
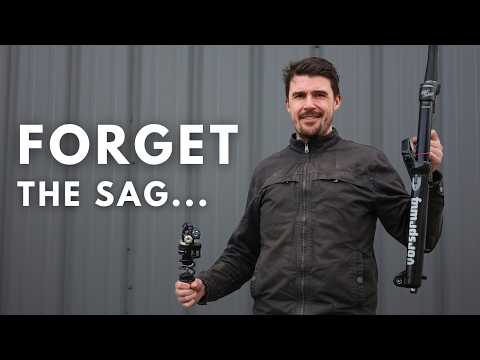
Suspension setup might be the most important parameter for fast, fun, and safe mountain biking. Although it can seem complex, understanding the fundamentals can help you dial in your bike for the best performance. In this article, we dive deep into suspension tuning with Steve, the founder and suspension expert at Vorsprung Suspension, based in Kamloops, BC.
Steve has over two decades of experience studying suspension, backed by an automotive engineering background. His passion for mountain biking began with downhill racing in Australia, which led to the creation of Vorsprung Suspension. The company started by servicing suspension, then moved into tuning, designing upgrade parts, and manufacturing complete shock absorbers and upgrade products.
Before adjusting your suspension, it’s essential to understand your riding style and what you want from your bike. The type of bike you own—downhill, cross country, enduro—already reflects your riding priorities.
Consider the trails you ride most often and your highest priorities:
If you ride a variety of trails, such as bike parks with big hits and slow technical trails, compromises in your suspension setup become necessary. A perfect setup that works flawlessly everywhere does not exist, but you can find a compromise that works well across different scenarios.
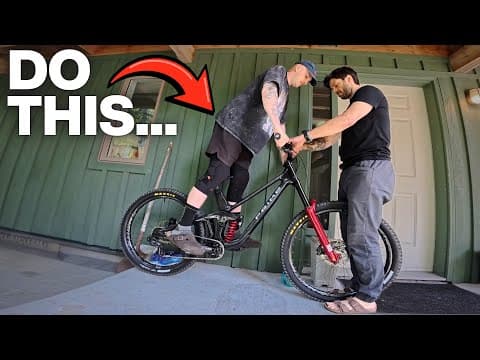
The first step in suspension setup is selecting appropriate spring rates. Traditionally, this is done by measuring sag—the amount your suspension compresses under your weight.
However, sag measurement has limitations, especially in accuracy. Vorsprung approaches spring rate selection by considering how much force is needed to bottom out the suspension and working backward to find the spring rate that provides that force.
Keep in mind that bikes are designed to operate within a certain sag range, and running sag outside this range can negatively affect geometry and performance.
After spring rates, the next step is adjusting rebound damping, which controls how quickly the suspension extends after compression.
A common misconception is that slow rebound is safer, but faster rebound often improves efficiency by allowing the suspension to return to its initial position between impacts, maintaining better grip.
Bottoming protection prevents the suspension from fully compressing harshly.
Adding volume spacers increases progressivity, making the suspension ramp up more sharply near the end of the travel. However, too many spacers can cause the suspension to feel harsh and run out of usable travel too quickly.
If you’re bottoming out too often, consider increasing spring rate or adding volume spacers, but be cautious not to overdo it.
Compression damping resists the speed of suspension compression and stabilizes the rider by controlling how quickly the suspension compresses.
Compression damping is divided into low-speed and high-speed damping:
The terms low-speed and high-speed refer to the speed of suspension movement, not the bike’s speed.
Suspension setup is a balance between spring rates, rebound, compression damping, and bottoming resistance. Understanding your riding style and terrain is key to finding the right compromise.
Steve and Vorsprung Suspension provide valuable insights and tools to help riders optimize their suspension for better performance and enjoyment.
Whether you’re riding local trails, bike parks, or rocky destinations, a well-tuned suspension setup can make a significant difference in your riding experience.
Happy riding and stay tuned for more suspension tips and tricks!