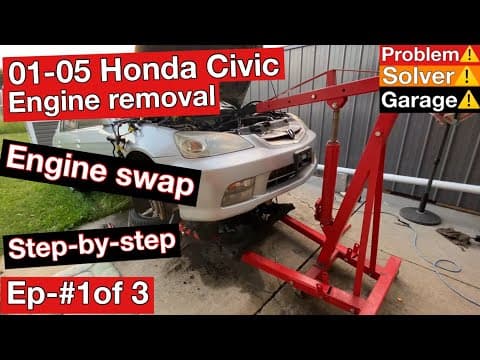
In this blog post, we will walk you through the process of removing the engine from a 2001 to 2005 Honda Civic. This guide is designed to be thorough and easy to follow, ensuring that you can complete the task without the need for a hoist. This is part one of a three-part series, where we will also cover separating the engine from the transmission and reinstalling the new engine.
Overview of the Process
Before we dive into the steps, here’s a brief overview of what you will need:
- A cherry picker or engine hoist (can be rented for about $60)
- Basic hand tools (sockets, wrenches, screwdrivers)
- WD-40 or similar lubricant
- Masking tape for labeling
- Fire extinguisher (for safety)
Episode Breakdown
- Episode 1: Removing the engine
- Episode 2: Separating the engine from the transmission
- Episode 3: Reinstalling the engine
Step 1: Relieve Fuel Pressure
- Access the Fuel Relay: Open the cover inside the car to access the fuel relay. Remove the middle relay to relieve pressure from the fuel lines.
- Start the Engine: If the engine is operational, start it and let it run until it dies. In our case, the engine is non-functional, so be prepared with a hose or fire extinguisher when disconnecting the lines.
Step 2: Disconnect the Battery
- Remove the Battery: Unscrew the battery terminals and remove the battery from the vehicle. This is crucial to prevent any electrical shorts during the process.
Step 3: Remove the Air Intake
- Disconnect the Air Intake: Remove the air intake assembly. Label all components and bolts as you remove them to ensure easy reassembly later.
Step 4: Remove Belts and Accessories
- Remove the Power Steering Pump: Loosen the bolts and lift the power steering pump out of the way without disconnecting the hoses.
- Remove the Alternator: Unscrew the alternator bolts and disconnect the wiring. Make sure to label everything.
Step 5: Disconnect Cables and Wiring
- Throttle and Cruise Control Cables: Unscrew and disconnect the throttle and cruise control cables.
- Unplug Wiring Harness: Carefully unplug all connectors from the wiring harness. Label each connector to avoid confusion during reinstallation.
Step 6: Remove the Drive Axles
- Jack Up the Car: Lift the front of the car and secure it with jack stands.
- Remove the Ball Joints: Use a hammer and a screwdriver to separate the ball joints from the control arms.
- Pull Out the Drive Axles: Use a crowbar to pry the drive axles out of the transmission.
Step 7: Prepare for Engine Removal
- Set Up the Cherry Picker: Position the cherry picker under the engine and attach a chain to secure it.
- Remove Exhaust Components: If necessary, remove the exhaust system to provide clearance for the engine removal.
Step 8: Lower the Engine
- Lower the Engine: Carefully lower the engine while checking for any obstructions. Ensure that all hoses and wires are clear.
- Remove Engine Mounts: Unscrew the engine mounts to fully detach the engine from the vehicle.
Conclusion
At this point, you should have successfully removed the engine from your Honda Civic without the use of a hoist. Remember to keep all parts organized and labeled for easy reinstallation. In the next episode, we will cover how to separate the engine from the transmission, followed by the reinstallation process in the final episode.
Make sure to subscribe for updates and further instructions. Happy wrenching!