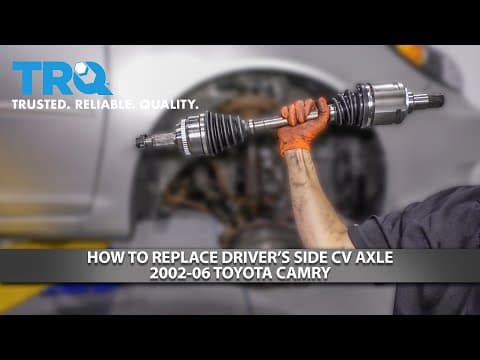
This blog post provides a comprehensive guide on how to replace the driver's side CV axle on a 2002-06 Toyota Camry, detailing each step from removing the wheel to checking the transmission fluid level after installation.
Replacing the driver's side CV axle on a 2002-06 Toyota Camry can seem daunting, but with the right tools and a clear step-by-step approach, it can be accomplished effectively. This guide will walk you through the entire process, ensuring you have all the necessary information to complete the task successfully.
If your Camry has steel wheels with hubcaps, start by carefully removing the hubcap. Use a pry bar or screwdriver to gently pry it off without breaking it. Next, use a 21mm socket to remove all five lug nuts and take off the wheel.
Using a 30mm 12-point socket, remove the axle nut. A deep socket is recommended here, as the axle protrudes significantly, making a shallow socket ineffective.
Ensure that the axle can push through the hub. If it is seized, use a punch and hammer to gently tap it through. If it moves freely, proceed to the next step.
Locate the 12mm bolt that secures the ABS wire and brake hose to the strut. Remove this bolt to free the wires. Next, use a 22mm socket to remove the nut from the top and bottom bolts of the knuckle, ensuring they spin freely.
Carefully pull the knuckle forward while pushing the axle in to avoid separating the inner CV joint. Unbolt the retaining bracket for the ABS wire from the fender well to provide extra slack. Before pulling the axle out of the knuckle, place a collection bucket underneath to catch any fluid that may leak out.
Using a long pry bar, insert it between the transmission casing and the inner CV joint to pry the axle out. Once it pops out, guide the CV shaft out of the transmission and knuckle. At this point, inspect the axle seal for leaks; if it is leaking, consider replacing it.
To install the new axle, reverse the uninstallation process. Start by sliding the new axle into the knuckle and aligning it with the hole in the transmission. Ensure the splines are lined up and press the axle into place. It is advisable to apply anti-seize on the splines to prevent future sticking.
Lift the knuckle back into position and start one of the bolts, usually the bottom one, first. Press in on the knuckle to align the top bolt. Reattach the ABS wire and brake hose, securing them in place. Torque both bolts to 159 foot-pounds.
Reattach the axle nut and torque it to 217 foot-pounds. To prevent the axle from spinning while you torque it, you can use a pry bar against the ground or wait until the wheel is back on the ground.
Place the wheel back on and start all five lug nuts. Snug them up and torque them to 76 foot-pounds in a star pattern. Don’t forget to reattach the hubcap, aligning the cutout with the valve stem.
Finally, check the transmission fluid level. This should be done with the car warmed up and in park. After cycling through all the gears, check the dipstick while the engine is running. The fluid level should be between the cold and hot lines on the dipstick. For specific fluid type, refer to your owner's manual.
Replacing the driver's side CV axle on a 2002-06 Toyota Camry is a manageable task with the right tools and careful attention to detail. By following these steps, you can ensure a successful installation and maintain the performance of your vehicle.