This blog post provides a step-by-step guide on how to make homemade sour cream using a simple recipe that involves boiling milk, adding sour cream, and fermenting in a warm oven. The process is easy, cost-effective, and yields creamy, delicious results that can be stored for up to two months.
Making homemade sour cream is not only a cost-effective way to enjoy this creamy delight, but it also allows you to connect with traditional cooking methods. In this post, we will walk through a simple recipe that utilizes fresh milk and a few basic ingredients to create a delicious sour cream that can be stored for up to two months.
Begin by pouring 3 liters of homemade milk into a deep pan. Place the pan on the stove and heat the milk, stirring occasionally to prevent it from sticking to the bottom.
Once the milk reaches a boil, continue boiling it for three minutes. This step is crucial as it helps to kill any unwanted bacteria and prepares the milk for fermentation.
After boiling, remove the pan from the stove and allow the milk to cool down until it reaches a lukewarm temperature. The ideal temperature for the next step is below 45°C (113°F).
A good indicator of quality milk is the cream that forms on the surface after boiling. This cream signifies that the milk is fresh and suitable for making sour cream.
Once the milk has cooled, add a teaspoon of salt and mix it well. This will enhance the flavor of your sour cream.
Ensure that you have clean and sterile jars ready for the fermentation process. Pour a tablespoon of sour cream into each jar. This will act as a starter culture for the fermentation.
Next, pour a ladleful of the cooled milk into each jar, mixing it with the sour cream. Fill each jar to the top, ensuring that the mixture is well combined.
Turn on your oven and preheat it to 50°C. This warm environment is essential for the fermentation process.
Place the filled jars on an oven tray and put them in the preheated oven. After placing the jars inside, reduce the oven temperature to 40°C and leave them for one hour.
After one hour, turn off the oven but leave the jars inside, allowing them to ferment overnight. This step is crucial for developing the sour cream's flavor and texture.
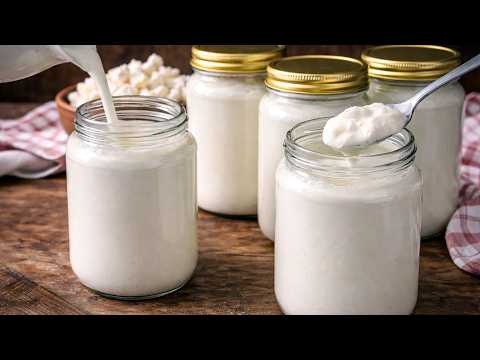
The next day, take the jars out of the oven and check the consistency of your sour cream. You should see a nice, sturdy cream texture. Use a spoon to test the cream, and you will find it beautifully textured and ready to enjoy.
Store your homemade sour cream in the refrigerator. It can last up to two months, making it a great addition to your meals.
Making homemade sour cream is a simple and rewarding process that not only saves money but also allows you to enjoy a delicious, creamy product made from fresh ingredients. If you enjoyed this recipe, feel free to leave a comment or a like to show your appreciation!