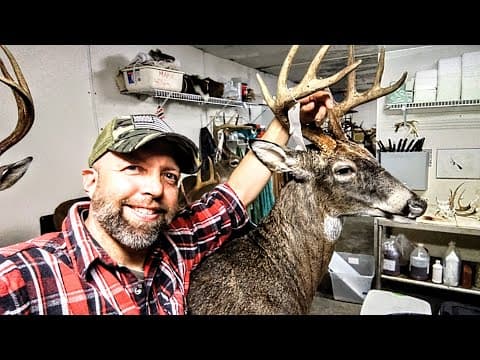
This blog post provides a comprehensive guide for beginners on how to mount a deer head, detailing the entire process from preparation to finishing touches, along with tips and personal insights from an experienced taxidermist.
Mounting a deer head can seem like a daunting task for beginners, but with the right guidance and techniques, it can be a rewarding experience. In this blog post, we will walk through the entire process of mounting a deer head, sharing tips and insights from an experienced taxidermist.
Welcome to the world of taxidermy! Today, we will explore the process of mounting a deer head, specifically focusing on whitetail deer. This guide is designed for beginners who want to learn the basics and gain confidence in their taxidermy skills. Remember, taxidermy is an art form that requires practice, patience, and a willingness to learn from mistakes.
Before starting the mounting process, it is essential to gather all necessary materials and prepare the deer head. Here’s what you need:
Special thanks to Greg Trello from Illinois for providing a new logo for the YouTube channel, which has also been adapted for the taxidermy sign. Community support is invaluable in this craft.
Start by gluing the ears in place. Ensure that the pupils are aligned correctly to avoid a cross-eyed appearance. This is a crucial step, as the eyes are a focal point of the mount.
Next, glue the neck, back, and front of the shoulders and chest. Stitching the deer first allows for better control and detail work later. Remember, it’s just a dead deer; mistakes can be fixed.
Once the stitching is complete, attach the antlers. Use a bead of clay around the skull cap to create a smooth transition between the skull and the form. Don’t worry about getting dirty; it’s part of the process.
As you work, remember that the form you are using may be challenging. It’s beneficial to show the more difficult forms to help others learn. Use medical tape on your fingers to protect them while using the cape needle.
When adding clay to the ears, think about the anatomy. Use enough clay to create individual muscle shapes, which will help when positioning the ears later.
Add clay around the nose for the nose pad and the bottom lip. This step is essential for creating a realistic appearance. Tuck the skin carefully to ensure a smooth finish.
Attach the eyes and ensure the tear ducts are positioned correctly. Use glue to secure the eyelids and create a natural look. If you make a mistake, don’t panic; it can be cleaned up later.
Flip the deer over and glue the hide to the back of the pedestal. This step is crucial for securing the mount and ensuring it looks good from all angles.
Work on the ears to give them a natural appearance. Add wrinkles and adjust the positioning as needed. This is where your artistic skills come into play.
After the main structure is complete, take time to groom and refine the details. This includes cleaning up any excess glue and ensuring everything is in place.
Mounting a deer head is a process that requires practice and patience. Don’t be discouraged by mistakes; they are part of the learning experience. With time, you will develop your own techniques and style. Remember, the goal is to create a beautiful representation of the deer that honors its life.
Good luck with your taxidermy journey, and don’t forget to subscribe for more tips and tutorials!