This blog post explores the challenges and techniques involved in restoring a failed art conservation project, detailing the steps taken to stabilize, clean, and retouch a damaged painting, ultimately transforming it from a botched restoration to a beautifully preserved piece.
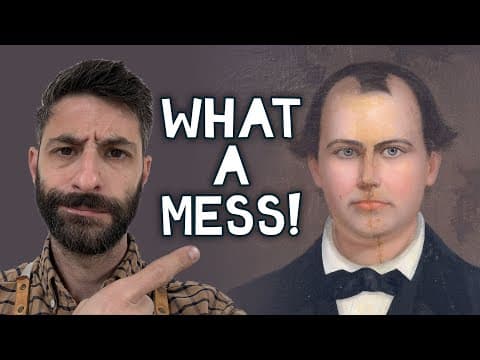
Art restoration is a delicate process that requires the right materials, proper techniques, and sufficient technical skills. When any of these elements are lacking, the outcome can be disastrous, as demonstrated in the case of a failed restoration of an antebellum portrait. This blog post will detail the steps taken to rectify the mistakes made in the initial conservation attempt, showcasing the challenges and techniques involved in restoring this artwork.
The initial restoration of the painting was plagued by poor choices in materials and methods. Although some appropriate materials were used, others, like the foam board to which the painting was glued, were not archival or acid-free. This led to visible tears and poor retouching, necessitating a complete overhaul of the restoration process.
Before any work could commence, the painting needed to be stabilized. This involved facing the painting with Japanese Mulberry paper using a fish gelatin adhesive. This adhesive was chosen for its strength and removability, allowing for the protection of the painting during the conservation process. The application of the adhesive was done carefully, starting from the center and working outwards to eliminate air bubbles.
The first major challenge was removing the inappropriate foam board. The outer layer was pried off to access the foam, which was then dissolved using a solvent. This method proved to be more efficient than using a scalpel, despite being messier. Once the foam was removed, the rigid board underneath was tackled using a combination of solvents and heat, allowing for easier removal of the adhesive.
With the board removed, the next step was to stabilize the painting further. The facing paper was peeled back, revealing that no paint had been lost during the initial stabilization. The painting was then transferred to a hot table to flatten it and remove any creases or ripples caused by the previous mounting.
The restoration revealed significant structural damage, including voids where the canvas had been cut away. To address this, new canvas pieces were sourced and carefully fitted into the gaps. A piece of Washi Koo paper was used to bond these inlays to the back of the canvas, ensuring they would remain stable during handling.
To provide additional support, a piece of Belgian linen was added to the back of the painting. This was done in conjunction with a PET film layer, which would help immobilize the canvas and prevent future damage. The painting was then placed back on the hot table to ensure proper adhesion.
Once the structural work was complete, the painting was cleaned. This involved removing old varnish and overpainting, revealing the original colors and textures. A neutral organic soap was used to clean the surface grime, which had likely never been addressed in the previous restoration attempt.
With the surface cleaned, the next step was to fill in areas of loss with a putty. This was applied liberally and then smoothed out using a damp felt cloth, a technique borrowed from plastering to achieve a smooth finish. This step was crucial for preparing the painting for retouching.
To display the painting properly, a strainer was constructed to support it. This involved cutting and assembling wooden pieces to create a frame that would allow for airflow and prevent the canvas from touching the edges directly.
Retouching was done meticulously, using a small brush to apply paint only where it was missing. This careful approach ensured that the original artwork was preserved while restoring its visual integrity. The goal was to make the painting look cohesive without overpainting any areas.
The final step in the restoration process was applying a synthetic ultraviolet stable varnish. This layer not only protected the painting but also adjusted the sheen, enhancing the colors. A brush was used to create a fine micro texture, ensuring the final appearance was both beautiful and authentic.
The restoration of this antebellum portrait serves as a reminder of the importance of using the right materials and techniques in art conservation. Despite the initial failures, through careful planning and execution, the painting was transformed from a botched restoration into a beautifully preserved piece of art. This process highlights the complexities of art restoration and the dedication required to clean up a mess effectively.