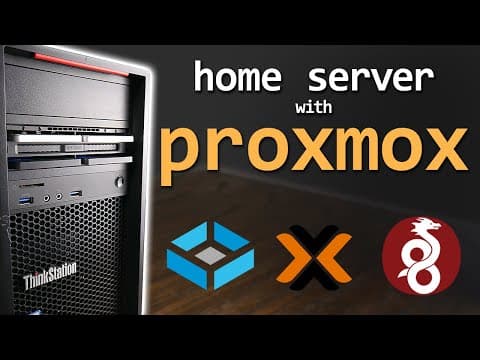
In this blog post, we will walk through the process of setting up a multi-purpose home server using Proxmox, TrueNAS Scale, and Portainer. This server will host multiple virtual machines and containers, allowing for various applications such as media streaming with Jellyfin, remote gaming, and secure remote access via WireGuard.
Setting up a home server can be a rewarding project, especially for those interested in self-hosting and networking. This guide is designed for hobbyists and beginners, providing a detailed account of the hardware setup, software installation, and configuration processes.
Hardware Overview
For this project, I purchased a used Lenovo P310 workstation for around $200. Here are the key specifications:
- Processor: Intel Skylake Xeon E3-1275 V5 (4 cores, 8 threads)
- Memory: 32 GB DDR3 RAM (upgraded from 16 GB)
- Graphics Card: Nvidia Quadro K1200 (to be sold)
- Storage: 240 GB SSD for boot and four 1 TB SSDs for TrueNAS
- Network: 2.5 GB Ethernet card for enhanced bandwidth
Additional Hardware Components
- Power Supply: EVGA 650 W Gold
- SAS HBA: LSI 9240-8i for connecting SSDs
- Storage Enclosure: MB24 SP-B for mounting SSDs in the case
Software Installation
Step 1: Installing Proxmox
- Boot from Ventoy Drive: Insert the Ventoy drive and boot the system. Enter the BIOS to ensure the correct settings are applied, such as enabling virtualization.
- Install Proxmox: Select the Proxmox ISO from the Ventoy menu and follow the installation prompts. Choose the 240 GB SSD as the boot drive and configure the network settings with a static IP address.
- Access Proxmox UI: After installation, access the Proxmox web interface using the assigned IP address.
Step 2: Setting Up TrueNAS Scale
- Upload TrueNAS ISO: In the Proxmox UI, upload the TrueNAS Scale ISO and create a new virtual machine (VM) for it.
- Configure VM Settings: Allocate resources such as CPU cores and memory, and ensure the HBA and 2.5 GB Ethernet card are passed through to the VM.
- Install TrueNAS: Start the VM and follow the installation instructions for TrueNAS. Set up a RAID-Z pool using the four 1 TB SSDs for data redundancy.
Step 3: Configuring TrueNAS
- Create a Storage Pool: In TrueNAS, create a new pool named "Pro Pool" using the four SSDs.
- Set Up SMB Share: Create an SMB share for easy access to the storage from other devices on the network.
- User Management: Add a user for accessing the share and configure permissions accordingly.
Step 4: Installing Debian and Portainer
- Upload Debian ISO: Upload the Debian 11 ISO to Proxmox and create a new VM for it.
- Install Debian: Follow the installation prompts, ensuring to install the SSH server.
- Install Portainer: After setting up Debian, install Docker and then Portainer to manage Docker containers easily.
Step 5: Setting Up Docker Containers
- Install Docker: Use the convenience script from the Docker website to install Docker on the Debian VM.
- Add User to Docker Group: Ensure the user can run Docker commands without sudo.
- Deploy WireGuard: Using Portainer, deploy a WireGuard container to create a secure VPN for remote access to the home network.
Conclusion
By following these steps, you will have a fully functional multi-purpose home server capable of running various applications and services. This setup not only enhances your home network capabilities but also provides a platform for learning and experimentation in self-hosting and virtualization.
In the next part of this series, we will explore additional configurations and optimizations for gaming and media streaming. Stay tuned for more updates!