
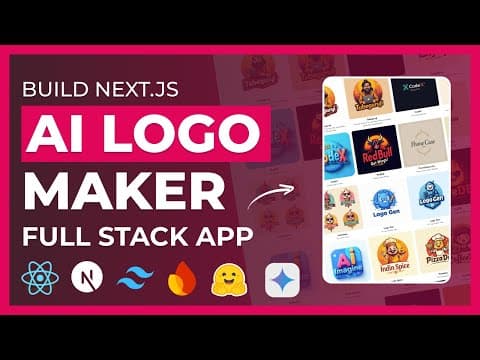
This blog post provides a comprehensive guide on building a full-stack AI logo maker application using Next.js, React, Tailwind CSS, Firebase, and Hugging Face API. It covers the application structure, UI components, integration of AI models, and deployment on Vercel.
In this blog post, we will walk through the process of building a full-stack AI logo maker application using Next.js, React, Tailwind CSS, Firebase, and the Hugging Face API. This application allows users to create and customize logos for their brands, making it an excellent project for beginners to learn various technologies.
The AI logo maker application features a clean landing screen where users can enter their logo name and start the logo creation process. The application is designed to be responsive, ensuring a seamless experience on both desktop and mobile devices.
Before diving into the code, let's outline the structure of our application:
To get started, we will create a new Next.js application and install the necessary dependencies. Open your terminal and run the following commands:
npx create-next-app@latest ai-logo-generator
cd ai-logo-generator
npm install tailwindcss firebase axios
Next, we will configure Tailwind CSS by creating a tailwind.config.js file and adding the necessary configurations.
The landing screen will consist of a header, a hero section, and an input field for the logo name. We will create a new component called Hero.jsx to handle this section.
// components/Hero.jsx
import React from 'react';

const Hero = () => {
    return (
        <div className="hero">
            <h1>AI Logo Maker</h1>
            <input type="text" placeholder="Enter your logo name" />
            <button>Get Started</button>
        </div>
    );
};

export default Hero;
Once the user enters the logo name and clicks the "Get Started" button, they will be taken to a new page where they can provide additional details about the logo, such as description, color palette, and style. We will create a new page called create.jsx to handle this process.
For logo generation, we will use the Hugging Face API. We will set up API calls to send user inputs and receive generated logos. The API integration will be handled in a separate file, api.js, where we will define our API calls.
// api.js
import axios from 'axios';

const generateLogo = async (prompt) => {
    const response = await axios.post('https://api.huggingface.co/generate', { prompt });
    return response.data;
};

export { generateLogo };
We will use Firebase to store user data and generated logos. Set up a Firebase project and add the Firebase configuration to your application. Create functions to handle user authentication and data storage.
// firebase.js
import firebase from 'firebase/app';
import 'firebase/firestore';

const firebaseConfig = {
    apiKey: "YOUR_API_KEY",
    authDomain: "YOUR_AUTH_DOMAIN",
    projectId: "YOUR_PROJECT_ID",
};

if (!firebase.apps.length) {
    firebase.initializeApp(firebaseConfig);
}

const db = firebase.firestore();
export { db };
Once the application is complete, we can deploy it on Vercel. Push your code to GitHub and connect your repository to Vercel for deployment. Vercel will automatically build and deploy your application, making it accessible to users.
In this blog post, we have covered the process of building an AI logo maker application using Next.js, React, Tailwind CSS, Firebase, and Hugging Face API. This project not only demonstrates the integration of various technologies but also provides a practical application for users to create logos for their brands. Happy coding!



















