
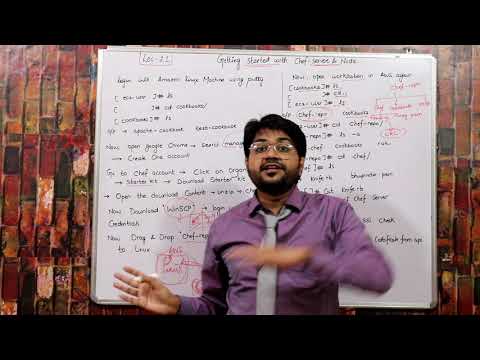
This blog post provides a detailed overview of bootstrapping in Chef, explaining how to configure a Chef server, connect nodes, and manage workstations effectively. It covers the entire process from account creation to uploading cookbooks and automating updates, ensuring a thorough understanding of Chef's functionalities.
In this blog post, we will explore the concept of bootstrapping in Chef, a powerful configuration management tool. We will discuss how to configure a Chef server, connect nodes, and manage workstations effectively. This guide is designed to provide a comprehensive understanding of the bootstrapping process, ensuring that you can implement it in your own projects.
Bootstrapping in Chef refers to the process of setting up a node (a machine) to communicate with the Chef server. This involves creating an account on the Chef server, connecting the workstation to the server, and applying cookbooks to the nodes. The bootstrapping process is crucial for automating the configuration of servers and managing them efficiently.
To begin, you need to create an account on the Chef server. This can be done by visiting the Chef server's website and following the account creation process. Once your account is created, you will receive a confirmation email to verify your account.
After creating your account, the next step is to connect your workstation to the Chef server. This involves using the command line to execute specific commands that will establish the connection. You will need to provide your Chef server credentials during this process.
Once your workstation is connected to the Chef server, you can begin the bootstrapping process for your nodes. This involves the following steps:
knife bootstrap command to connect the node to the Chef server. This command will install the Chef client on the node and configure it to communicate with the server.After bootstrapping the node, you can upload cookbooks to the Chef server. Cookbooks contain recipes that define how to configure and manage your applications and services. To upload a cookbook, use the command:
knife cookbook upload <cookbook_name>
Once the cookbooks are uploaded, you can apply them to your nodes. This is done using the knife node run_list add command, which allows you to specify which cookbooks should be applied to a particular node.
To ensure that your nodes remain updated with the latest configurations, you can automate the update process. This involves setting up a schedule for the Chef client to run periodically and check for updates. You can configure this in the Chef client configuration file.
After setting up automation, it is essential to verify that everything is working correctly. You can do this by checking the logs on the Chef server and ensuring that the nodes are receiving the updates as expected.
Bootstrapping in Chef is a vital process for managing your infrastructure efficiently. By following the steps outlined in this guide, you can set up your Chef server, connect your nodes, and automate the configuration management process. This not only saves time but also ensures consistency across your environment. With practice, you will become proficient in using Chef for your configuration management needs.



















