This article outlines common mistakes made during Kerdi shower pan installation, including framing errors, improper plywood use, incorrect customization, thin set mortar issues, and waterproofing mistakes. It provides a detailed step-by-step guide to ensure a level subfloor, proper cutting and extending of the pan, correct mortar mixing and application, and effective waterproofing techniques to achieve a durable, leak-free shower pan ready for tiling.
Installing a Kerdi shower pan correctly is crucial to prevent water leaks, tile damage, and wasted time and money. Many homeowners and contractors make common mistakes during installation that compromise the shower's durability and waterproofing. This comprehensive guide will walk you through the most frequent errors and how to avoid them, ensuring your shower pan installation is easier, waterproof, and ready for tile.
One of the first mistakes involves the framing and subfloor preparation. If you notice moldy or warped subfloor panels, remove them immediately. Use a circular saw and pry bar for removal, then inspect the floor joists beneath.
Floor joists should be spaced appropriately, typically 16 inches on center. Avoid joists with excessive holes or notches that weaken their strength.
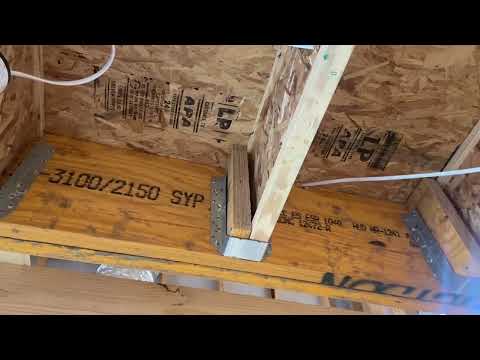
Use the longest level available to check that floor joists are level in every direction. If they are not, fix them by sistering new joists alongside the existing ones using two-by-sixes or two-by-eights. Secure the new joists with three-inch construction screws staggered every eight inches. A level subfloor is critical for pre-sloped shower pans to drain water properly.
Use 23/32 or three-quarter-inch plywood subfloor panels to prevent deflection, which can cause leaks in the Kerdi shower tray.
Apply a half-inch bead of construction adhesive to the floor joists before screwing down the plywood with two-inch construction screws. Screws should be placed every four to six inches along the perimeter and every 12 inches in the field to prevent deflection.
Double-check that the subfloor is level in every direction, as this is essential for the shower pan's drainage.
Kerdi shower pans can be cut to size, but many overlook a critical step: cutting off the first three-quarter inch of the perimeter. This perimeter is flat and helps with the shower wall tile installation.
For example, if you have a 48-inch wide pan that needs to be 38 inches, cut three-quarter inch off both sides of the perimeter, then cut the pan body accordingly to reach the desired size. Reinstalling the perimeter pieces ensures the edges remain flat and level, making it easier to install the first row of wall tile without complicated scribing.
To extend a Schluter shower pan, use dry pack mortar such as Mapei four-to-one mud bed mix. Mix the mud bed before setting the pan. After applying Schluter All-Set thin set mortar and installing the pan, immediately add the mud bed mix over the wet thin set. This sequence ensures a strong bond between the substrate, thin set, and mud bed.
Allow the mud bed mix to fully cure before proceeding, as premature use can cause waterproofing failure.
Schluter All-Set is recommended for setting Kerdi shower pans. It provides excellent bonding and waterproofing properties.
Follow the manufacturer's instructions carefully. For a 50-pound bag of All-Set, use 7.5 to 8.5 quarts of water. The consistency should resemble a Wendy's Frosty—thick but spreadable.
Do not use the Kerdi or Ditra trowels for setting the pan. Instead, use a quarter inch by three-eighths inch square or U-notch trowel.
Wipe down wood or concrete substrates with a damp sponge to hydrate the surface and prevent it from absorbing moisture from the thin set mortar.
Apply All-Set with the flat side of the trowel first, then add more with the notched side held at a 45-degree angle to maximize notch size. Apply the thin set parallel to the shortest side of the shower pan to allow air to escape and ensure a solid supporting bed.
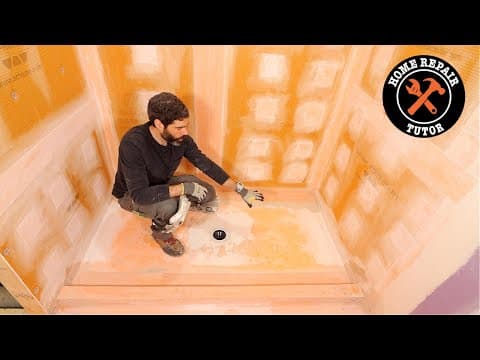
Despite some misconceptions, waterproofing the Schluter shower pan against walls, curbs, and benches is essential.
Use Schluter All-Set or unmodified thin set mortar to bond Kerdi band to ensure proper adhesion to the fleece on the pan, walls, and banding.
Use the same mixing instructions as for setting membranes to keep the thin set hydrated and ensure a strong bond.
Use the Schluter Kerdi trowel when applying thin set mortar for waterproofing. This trowel sets the correct notch depth, which is critical for proper waterproofing.
Embed the Kerdi banding and compress it with a six-inch drywall knife to achieve the right thin set thickness. This ensures strength and watertight performance over time.
Always use Kerdi Kerck inside and outside corners. Apply thin set to the pan and wall, then add inside corners followed by Kerdi band overlapping the corners by at least two inches. This two-inch overlap is critical for waterproofing integrity.
Use outside corners to waterproof the curb to the Kerdi pan.
Avoiding these common Kerdi shower pan mistakes requires careful attention to framing, plywood selection, pan customization, thin set mortar application, and waterproofing techniques. Following this step-by-step plan will help you achieve a durable, waterproof shower pan installation that is ready for tile and will last for years.
If you are undertaking a bathroom remodel and want more tips and tricks, consider consulting professional resources or tutorials to guide you through the process.
Thank you for reading, and best of luck with your shower pan installation!