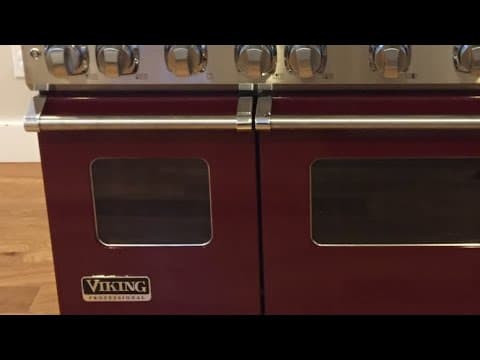
This blog post provides a comprehensive guide on how to troubleshoot and fix a Viking oven that is not heating properly. It covers the identification of faulty igniters, the replacement process, and tips for ensuring even cooking.
If you own a Viking professional oven and have encountered issues with it not heating up correctly, not igniting, or cooking unevenly, this guide is for you. We will walk you through the troubleshooting process and provide detailed steps on how to replace faulty igniters to restore your oven's functionality.
When your Viking oven is functioning correctly, you should see two igniters firing up within about 60 seconds after setting it to heat. These igniters produce two nice blue flames, indicating that the oven is ready for cooking. If you notice that your oven is not heating properly, it may be due to faulty igniters.
To determine if the igniters are the issue, observe the following:
For example, one igniter may glow and ignite gas, while another may take an excessive amount of time to do so, leading to uneven baking.
Before starting the repair, gather the following tools and materials:
Before beginning any repair, ensure your safety by unplugging the oven or turning off the power at the breaker box.
To access the igniters, you will need to remove the oven door:
Next, remove the bottom panel of the oven:
With the bottom panel removed, you will see the igniters:
To replace the left igniter:
Set the oven to a temperature (e.g., 350 degrees) and observe:
By following these steps, you can effectively troubleshoot and fix a Viking oven that won't start due to faulty igniters. Regular maintenance and timely replacement of igniters can ensure your oven continues to function optimally for many years. If you encounter further issues, consider consulting a professional technician for assistance. Thank you for reading, and happy cooking!